Nauticam M16 Vacuum Valve II - Pushbutton Release - 25625
- Free NZ shipping over $250
nternational Shipping
Yes, we ship to Australia! We use DHL Express, which should take 1-3 business days depending on your shipping address. Our checkout will automatically determine your shipping cost.
Outside of Australia? Contact us and we can organise.
You can find more information about shipping on our FAQs page.
How long will it take for my order to arrive after I make payment?
That depends on where you live and whether we have an item in stock or not. While we do have many items in stock, we don't carry everything. (For example, we do not stock most housings or ports as there are just too many!) If you need an item in a hurry, it's a good idea to contact us and find out if your item is in stock, or if we can get it in a hurry - we often can!
If we have it in stock, we can usually send it out as soon as we receive payment (1-3 business days), or you can pick it up. If an item is not in stock, we'll need to order it from our suppliers, which means it can take 1-2 weeks to arrive at your door (usually closer to a week).
Sometimes delivery can take longer, if our manufacturers are out of stock, for example, but this is unusual - we let customers know as soon as possible if something like this happens.
How do you ship my NZ orders?
We use New Zealand Post Courier to ship orders. New Zealand Post aims for next-day delivery nationwide between major towns and cities in the North Island. South Island delivery can take two days. If you require next-day delivery in South Island, choose the express shipping option for the South Island. If you spend over $250 get your shipping for free!
Pairs well with
Nauticam M16 Vacuum Valve II - Pushbutton Release
An exceptionally comprehensive vacuum system that allows the underwater photographer to confirm watertight integrity before entering the water. This system provides additional peace of mind with expensive camera equipment and should mean fewer lost dives due to minor equipment issues. The system is comprised of two parts, a one way vacuum valve and an electronic monitoring circuit.
Installing vacuum valve to housing
To install the vacuum valve first remove the plug of the M16 accessory port from the housing. Next, Remove the cap from the vacuum valve. Check that the O-ring is in place where the vacuum valve comes in contact with the housing. Lastly, tighten the vacuum valve to the housing with the tool provided.
Note: Slightly lubricate the O-ring that comes in contact with the housing with Nauticam lubricant.
Building up vacuum
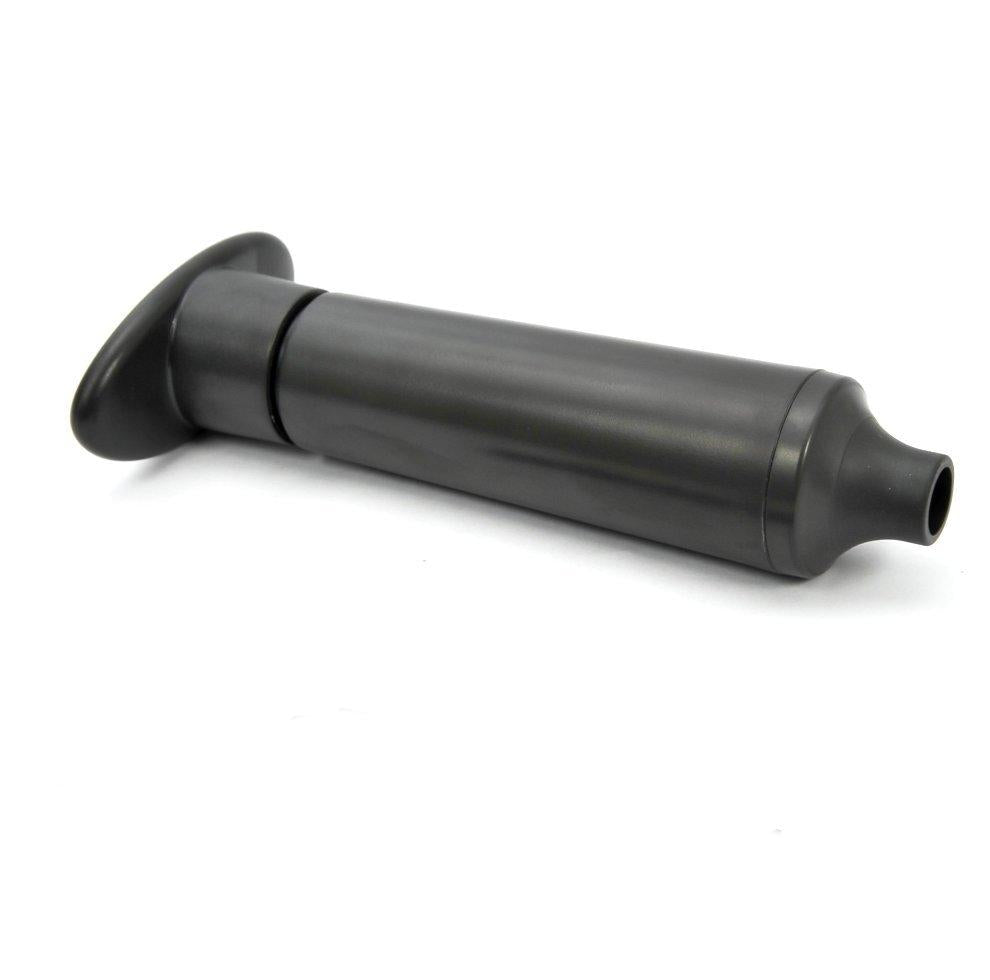
Remove the cap of the vacuum valve. Connect the hand pump to the valve and pump several times until it reaches the target vacuum level. The LED light will turn flashing yellow while vacuum is building up, then steady green when the target vacuum level is reached.
Attention: After the target vacuum is reached, i.e. steady green light, attach the cap back to the vacuum valve.
It is recommended to leave the housing for at least 20mins to ensure it is sealed. If the LED light changes from steady green light to rapidly flashing yellow light, that means there is a leakage and please check every O-ring and conduct the vacuum test again.
Please ensure that the cap is attached back to the vacuum valve before going underwater.
Vacuum can be released by pushing the red release button.
Attention: Please DO NOT attempt to go over the designated vacuum level, i.e. stop pumping when the LED turn green. Excessive vacuum level may lead to the malfunction of the camera and lens.
Note: Although the vacuum indicator is designated to compensate for a certain amount of temperature variation, it is recommended to conduct the vacuum test in an environment where the temperature is stable.
After set up, the meaning of the LED indicator in the housing:
| LED indicator | Status |
| Flashing “Blue” light | Standby mode. The moisture alarm is active, and the system is ready for vacuum indication whenever a vacuum is detected. |
| Flashing “Red” light with beeping sound | Moisture is detected. |
| Flashing “Yellow” light | Some vacuum is detected, target vacuum level is not reached. |
| Steady “Green” light | Target vacuum level is reached. |
| Rapidly flashing “Yellow” light | Vacuum is dropping. (Will occur only after target vacuum level is reached) |
| Rapidly flashing “Red” light | Vacuum is totally lost. Circuit stalled until switched off. (Will occur only after target vacuum level is reached) |
Resources
In the Box
- Pushbutton operated vacuum valve with 16mm thread
- Hand operated vacuum pump
- Installation tool
Accessories
- 25624 M14 Vacuum Valve II (Pushbutton Release)
- 25625 M16 Vacuum Valve II (Pushbutton Release)
- 25626 M14 Offset Connector with Vacuum Valve II (Pushbutton Release)
- 25627 M16 Offset Connector with Vacuum Valve II (Pushbutton Release)
- 25632 Hand pump for vacuum valve
- 25638 Vacuum Valve Cap for 25624/25625/25626/25627
- 25639 Fastening Tool for 25624/25625
Video
Nauticam Vacuum Leak Check System Tutorial from Nauticam on Vimeo.


