![Installing a DC Series Dome Port on your Compact Underwater Housing [VIDEO] - Ikelite](http://www.seatech.co.nz/cdn/shop/articles/dc-dome-port-cover.webp?v=1699924578&width=2800)
By John Brigham
Our DC series ports are 'dry domes' which allow you to shoot split shots (half-in, half-out of the water) and take advantage of the full wide angle coverage of your lens underwater. This video walks you through how to remove your housing's original flat port using a strap wrench and install the DC series dome in its place. Scroll down if you'd rather read instead.
Why Use a DC Dome Port?
If you have a camera like the RX100 VII behind the flat port that comes with the housing, when you have light passing from one medium to another - in this case, you're underwater and light is passing from the water through that flat glass into your camera - we have refraction, which means that you're going to narrow your image down your field of view about 30%.
What you can do to correct for that is you can take this flat port off and replace it with the DC dome. Now, there's several models that we offer this for, but they all functioned in the same way as far as physics is concerned. The Ikelite DC series domes come in several lengths to compliment a variety of Ikelite underwater housings, always check for compatibility.

"Because the DC dome port doesn't have the ability for water to go in between it and the port itself, you can shoot over-unders where you can split the waterline and you don't have to worry about an additional waterline dropping between two pieces." © Steve Miller
Removing the Standard Flat Port
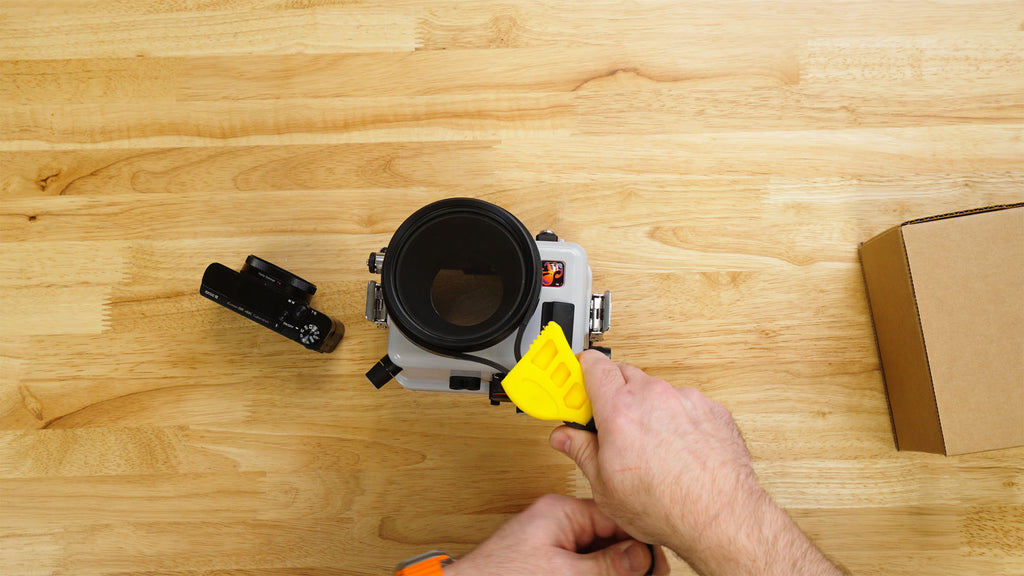
So let's dive right into taking this flat port off and putting the DC dome port on. What you're going to need is a rubber strap wrench to get the flap port that's existing on the housing off.
Cinch up the rubber strap around your flat port, turning righty-tighty, lefty-loosey, and then you'll be able to remove and loosen and your flat port. Once the flat port is removed I like to put it back into the DC dome port box, that way I know where it’s at.
Installing the DC Dome Port
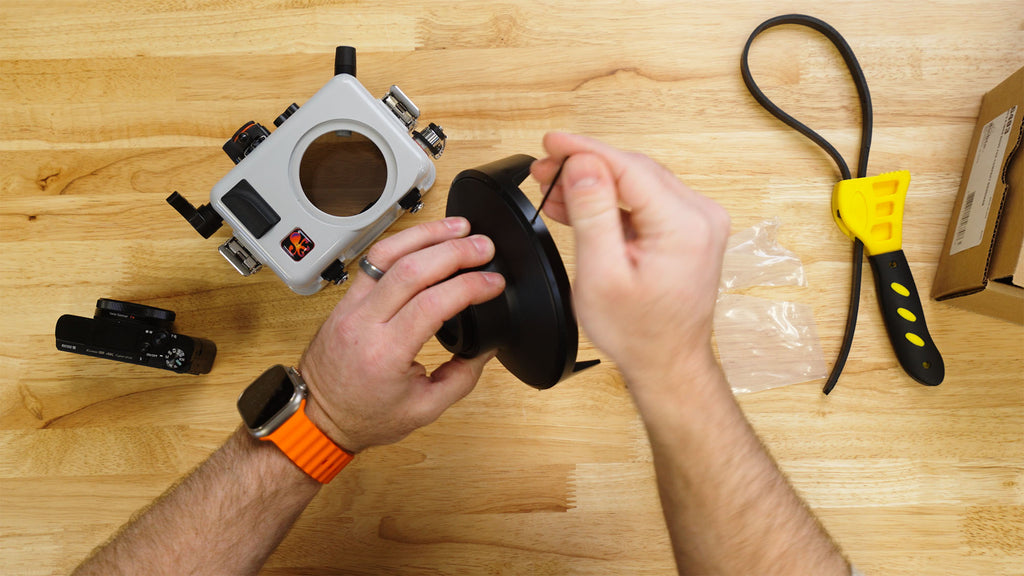
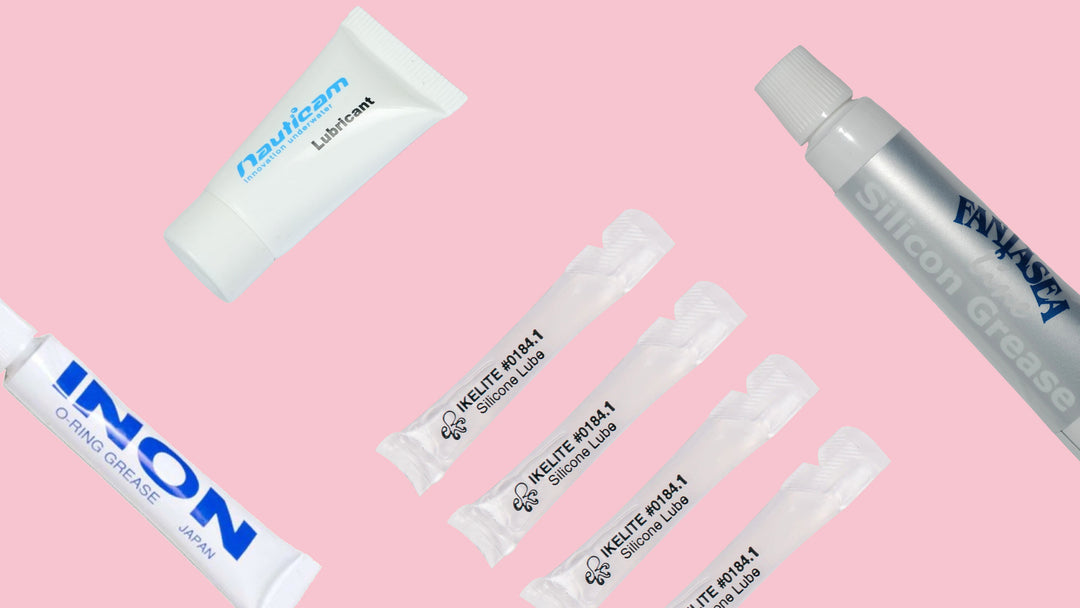
Remove the neoprene cover for the DC dome port. Open up the accessory packet: You'll have a hex key (we'll use that to adjust the shade) and we have some lubricant.
Inspect your dome port, take the included lubricant, and place a small bit on your finger. Now, this is a compression seal, so it doesn't need lubricant in this case to create the seal - we're just using this lubricant to overcome the friction as the o-ring tightens down when you thread it. Run a little bit around the o-ring and I like to also take a little bit and put it around the sealing surface that we're about to thread the dome port into.
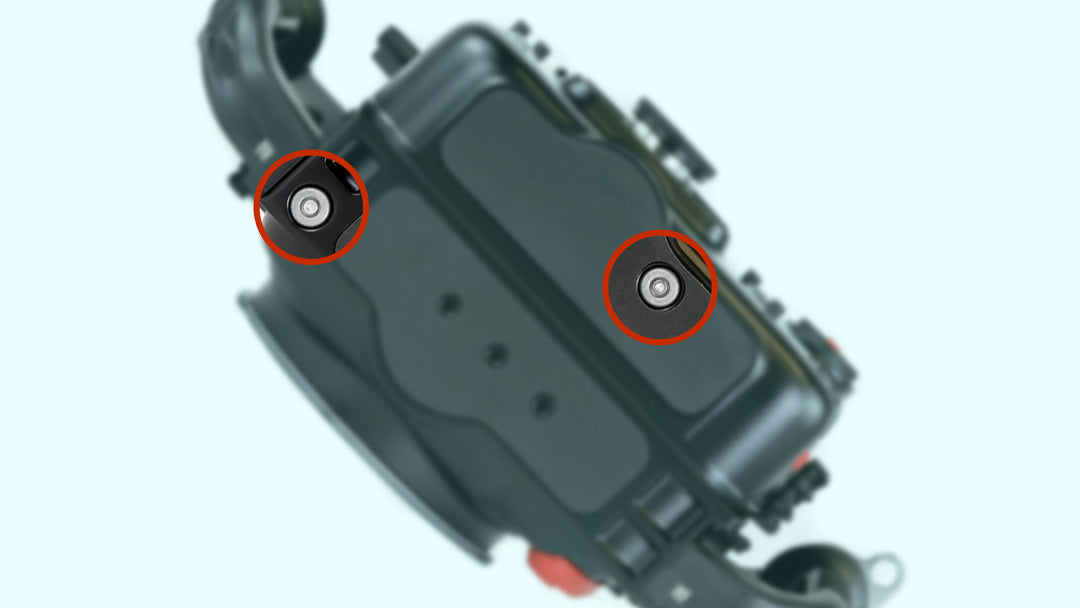
The set screws on the dome port shade don't need to be over tightened, just make sure that the shade doesn't come off of the port.
Loosen the three set screws on the shade of the dome port and we will remove the shade completely. Carefully, cross thread the port onto the housing until you feel it bottom out. Because this had a lot more leverage to the diameter, you don't really need the rubber strap wrench.
Take your shade and put it back on the dome port - align the it at the top or noon position, then take the included hex key, and snug down each of the three set screws.
We always recommend diving without a camera installed the first time after changing the port on your compact digital housing.
Have any questions?
If you have any questions whatsoever about DC Dome ports, if your housing is compatible, what to use, how to use it, or any other underwater photography related question - reach out to us today!

Leave a comment