Splits Shots: Over-under, in and out, up and down.
From our e-news
So over-under shots are pretty cool right? They’re also really tricky. They require a combination of light, expertise, gear and patience that can thwart the best intentioned photographer. But they’re also a shot that even a non-scuba diver can take! So let’s get into it!

Shades of Colour Contestant David Haintz took this image at San Remo Pier in Victoria, Australia.
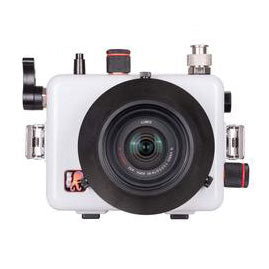
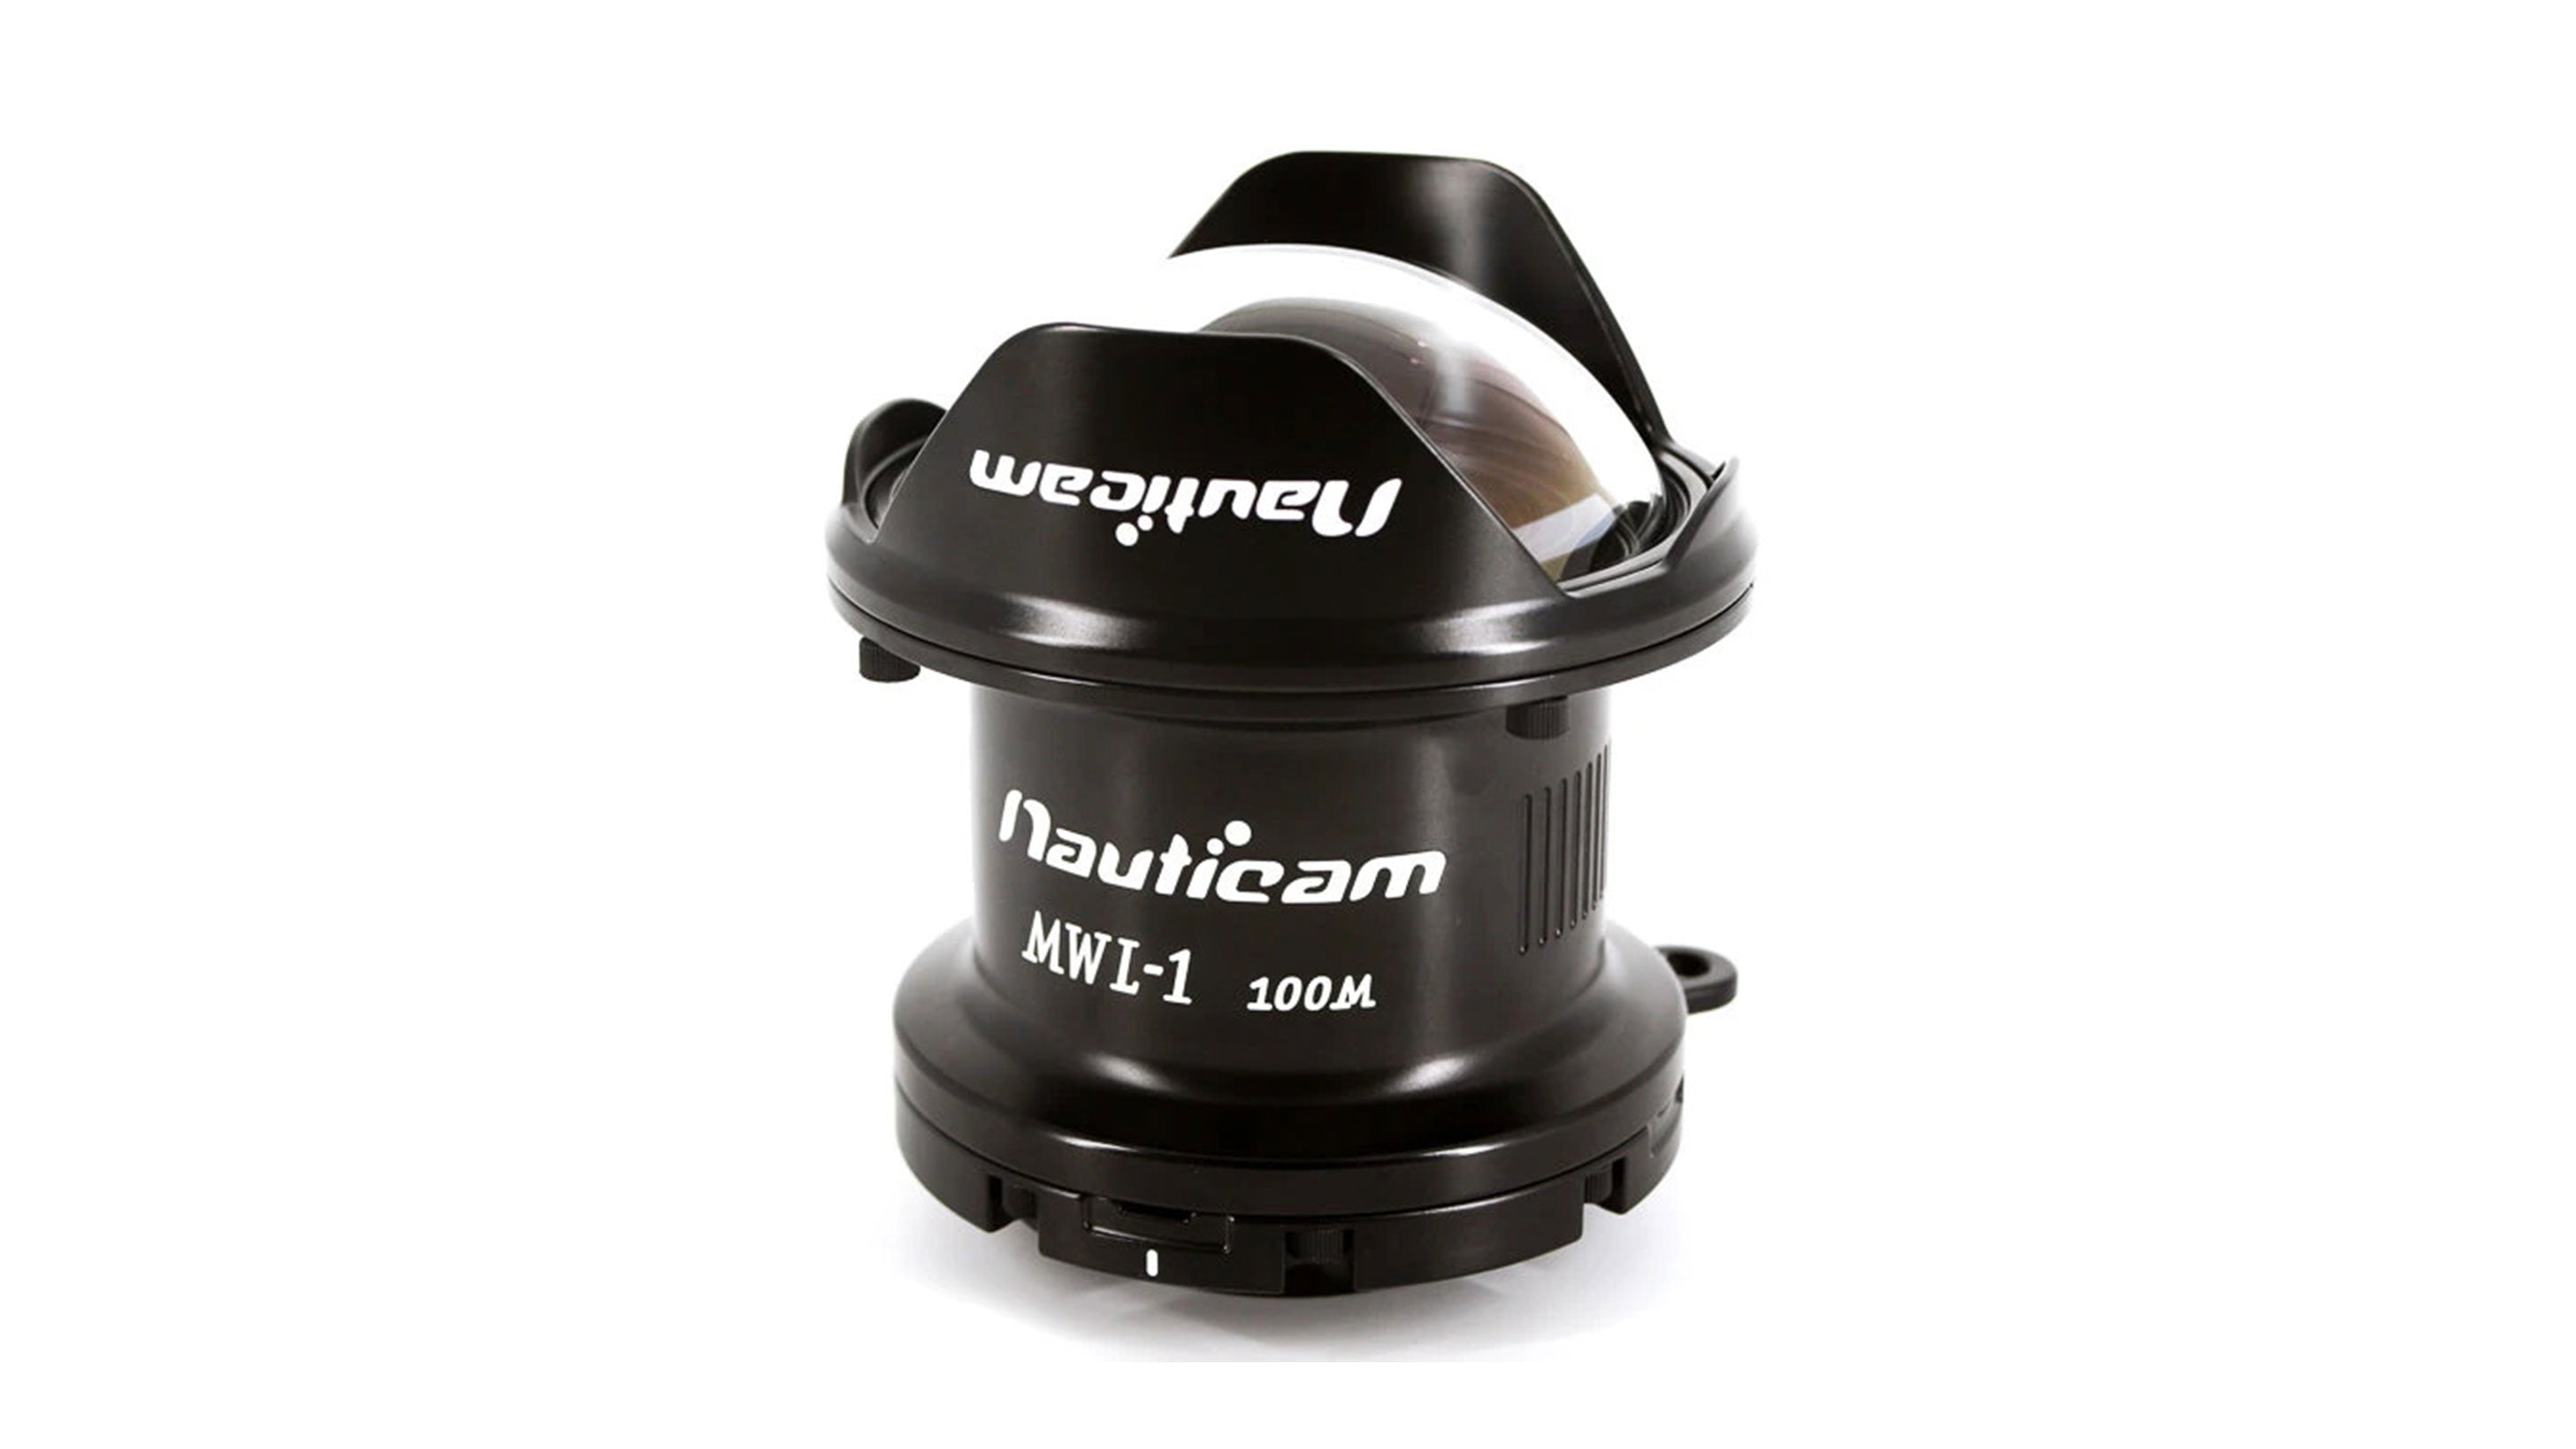
First things first: You need a dome port for your camera.
The bigger, the better. A fisheye lens is sometimes used to great effect, but the important thing is to have it be large. A large dome gives you more flexibility as the waterline moves to keep that shot split by the waterline. You could use a 4" dome, but you'd be extremely lucky to get a good shot - go bigger.
Now in theory you could use a wet lens here - but we wouldn’t recommend it. A wet lens will create not one but two waterlines in your image - the one on your wet lens and the one on your port. Not ideal. (Besides: a good dome port is a good investment and a great dome port is a great investment.)
Second: Choose your day.
Important information: It is a lot easier to achieve a great split-shot on a sunny day. If it’s cloudy, night time, or any time where the water is much darker than the land, you’ll need to light up the underwater portion with a strobe or a very good light. And because it’s ideal to position that either under your camera or to the side on an angle, this is where things like arms become invaluable. It’s best to attempt these in calm, clear water. You lose a lot of light even just below the surface so lighting will go a long way; a basic torch is probably not enough in lower-lighting conditions.

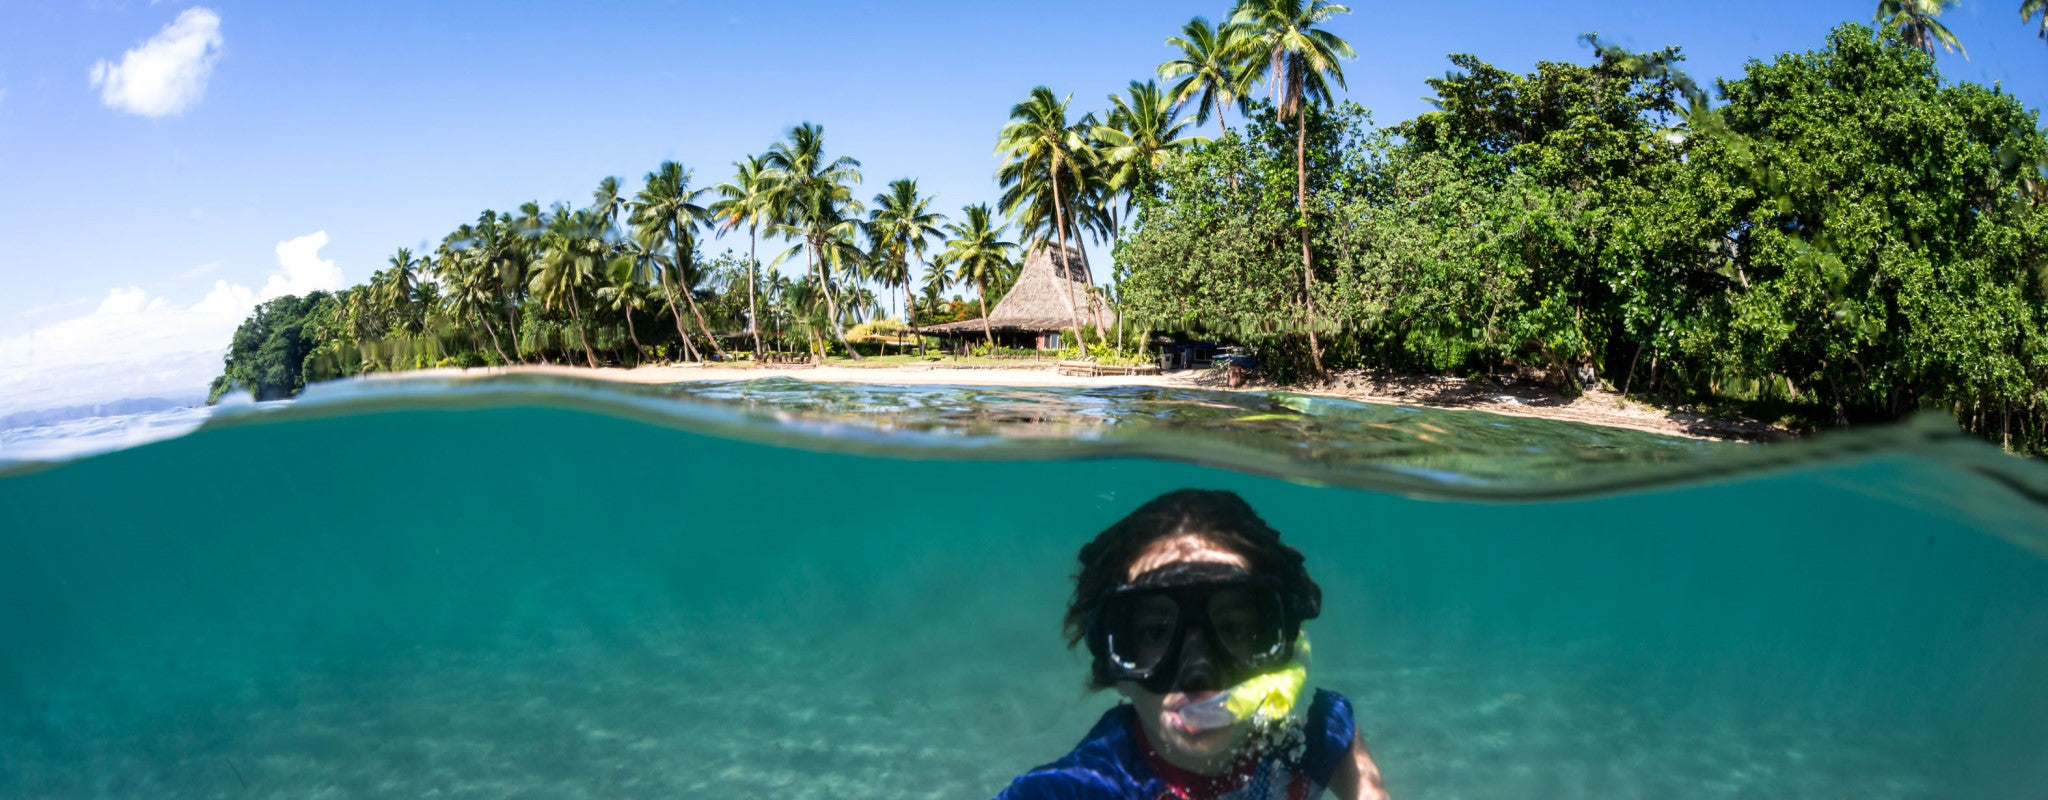
Alex Stammers took this over-under in Beqa Lagoon in Fiji. Via Shades of Colour.
Third: Clear the droplets.
Unless you’re trying for something artistic, you’ll note that the best over-under shots are droplet-free. You may also have noticed the water clinging to your port in an unsightly manner. How do they do it? They saturate a sponge with liquid dish soap or baby shampoo. This will helpfully break the surface tension on the water and prevent it beading and sticking to your dome. Please be careful with your expensive dome port and make sure you’re not accidentally rubbing sand into it.
Fourth: Line up your shot.
With the sun positioned behind you to minimise the light difference in the over and under sections, start at about 50% in and out of the water and alter to suit your tilt. You might find, depending on your tilt, that your ratios can be closer to two-thirds under - play around with it and take your time. Experiment. This is not easy. The movement of the water can be extremely frustrating and awareness of wave patterns can help a lot.

Super tricky shot here from Alexey Zaytsev in the swift-flowing Waihou river, South Waikato. Via Shades of Colour.
Fifth: Focus under.
For your photo to come out as clear as possible, most of the time you want to have the focus point underwater. The underwater object is (most of the time) going to be the closest thing to your lens and mostly what you want to focus on. You’ll need to decide whether to use manual or autofocus here. If you have a smart camera and a close object underwater, AF might be your easiest option - but you may conversely find that the brightness of the sky is causing your camera to focus on it and manual is a must. Remember: in the water you are in constant movement and you want to avoid a long shutter speed.
Sixth: Be patient. Experiment.
And have fun! Good luck out there! Oh, and if you take any shots you're particularly pleased with, please enter our photography competition, Shades of Colour to win Sea Tech vouchers!


Leave a comment