
From our enews:
Projected vs. Reflected Light
or: Why are my pictures so dark when I print them?
It's happened to the best of us. You take a sweet snap, you open it on your computer, it looks amazing so you print it out. And it's dark. So dark you can barely make things out. Why, you ask yourself, why is this happening?
This, my friends, is the difference between projected and reflected light. We old hands at the publishing game have been aware of this for years. But we also know that a lot of people outside of the printing-things world have been left in the dark (ahem) about it. So let us share with you a trade secret that shouldn't be a secret.
Projected light is the kind of light that comes from your computer, your smartphone or other similar devices. Reflected light is the light that bounces off a physical page. Projected light is brighter and whiter than reflected. It glows through your image, as opposed to bouncing off your image.
To counter this, you should be aware that anything you view on your computer will always be brighter, lighter and more visible than printed. This is where our friends Photoshop and Lightbox (and various other image processing programs) come in handy. The solutions vary depending on what file-type and/or program you're using, but I'll run you through the basics of how to lighten a RAW file using Photoshop. Bear in mind that if you use Lightbox you can batch process images and the process is much simpler.
(We usually recommend that UW photographers shoot in RAW and jpg - check your camera settings to do this. A RAW file is usually quite a large file because it's not heavily processed, but it is lossless, so quality is improved. They include many more levels of brightness and colours. You can fix under- or over-exposed images and adjust white balance more easily. It's also non-destructive editing, because you produce a tiff or jpg file from the RAW, and the original remains unchanged.)
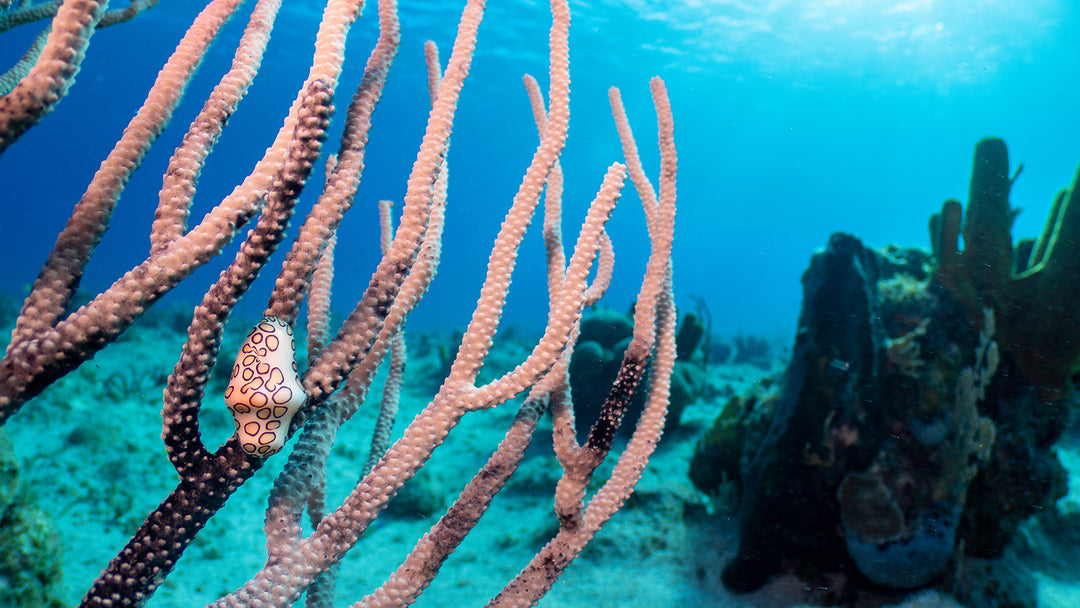
*image courtesy of Ewan Stevenson and Sealark.
- Open Photoshop
- Open your RAW file
- Click on 'Tone Curves'

- Open the 'Red' Channel. Increase your red channel by clicking and dragging the curve.

- You might want to increase the Green channel slightly too - but a very light touch here. If the photo was shot in NZ waters this typically won't be necessary.

- Click back to the 'Basic' panel
- Try adjusting White Balance - for this image I chose 'Flash' as it was taken using a strobe. I also slightly increased the exposure and contrast.


Image before vs after adjustment.
*image courtesy of Ewan Stevenson and Sealark.

Leave a comment